The Idea Club
The best ideas are shared ideas.

Bjorn Lampson's Projects


by Bjorn Lampson published 2022/11/13 04:01:00 GMT+0, last modified 2023-08-10T08:47:41+00:00

1000 pound beam challenge

by Bjorn Lampson published 2022/11/13 04:03:00 GMT+0, last modified 2022-11-16T04:40:08+00:00
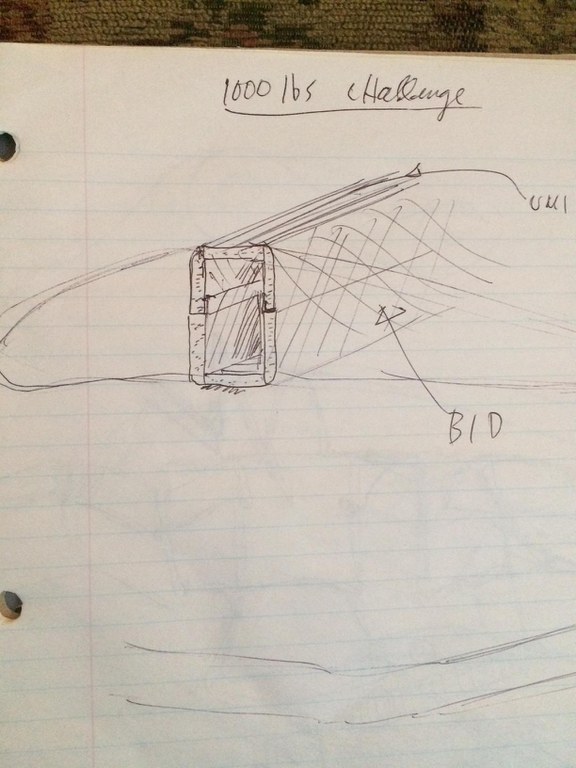
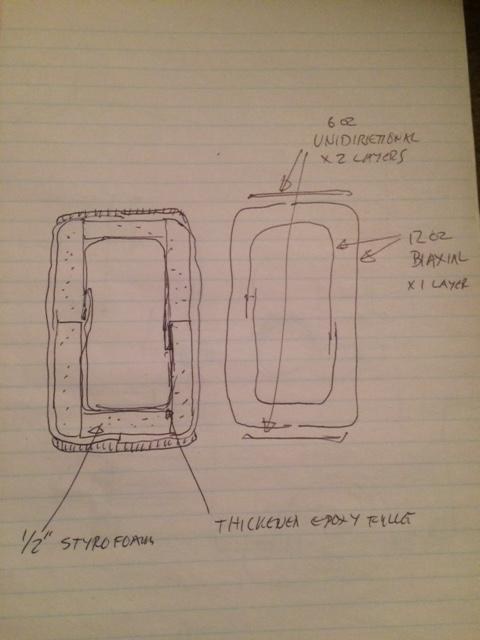
The idea is to build a beam out of Styrofoam and Epoxy fiberglass with the following dimensions: span 40', web 8", and a cap width of 3", weighing under 25 lbs. When supported at each end, the beam should carry a distributed load of 1000 lbs without being damaged.

Box beam

by Bjorn Lampson last modified 2022-11-15T00:33:55+00:00

Box beam lay up

by Bjorn Lampson last modified 2022-12-08T05:02:12+00:00

Glider project

by Bjorn Lampson published 2022/11/14 19:15:00 GMT+0, last modified 2023-08-11T18:57:25+00:00
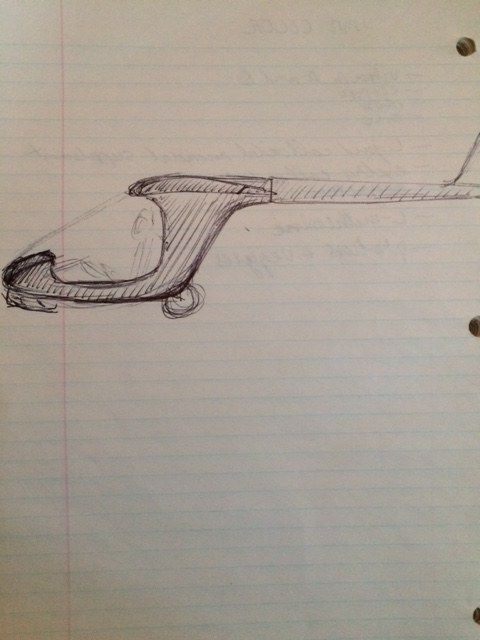
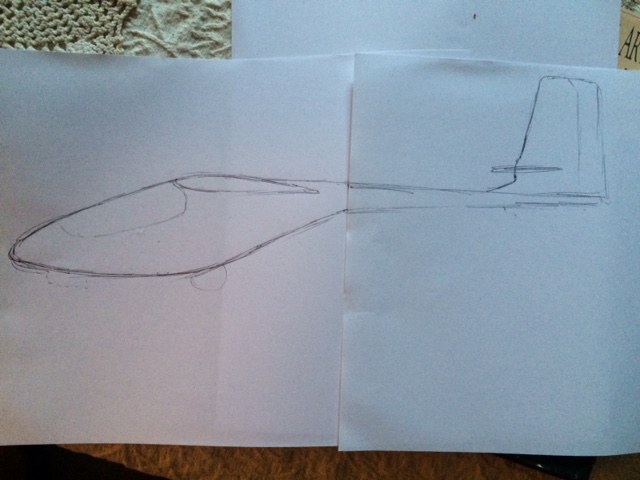
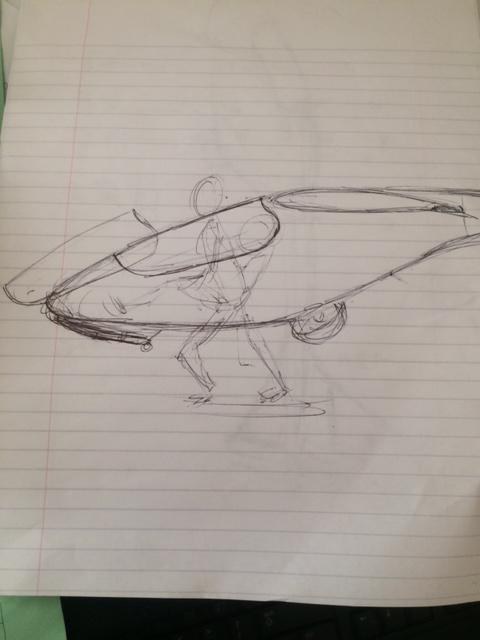
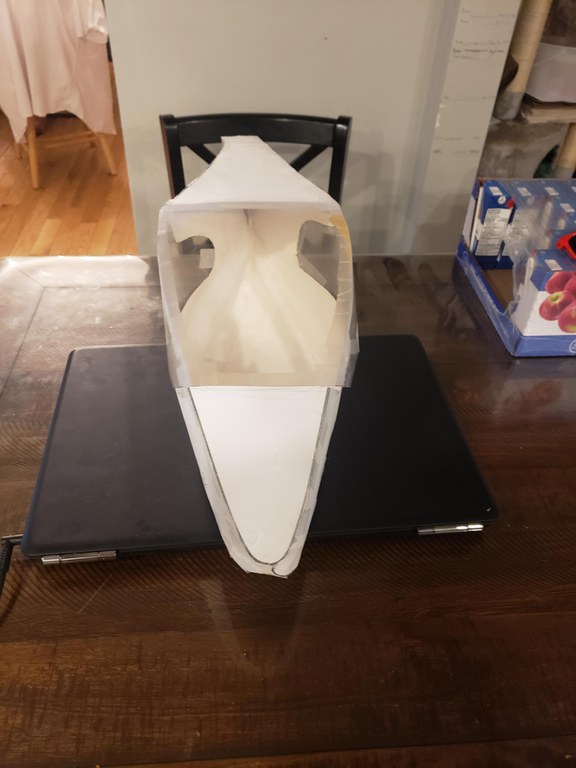
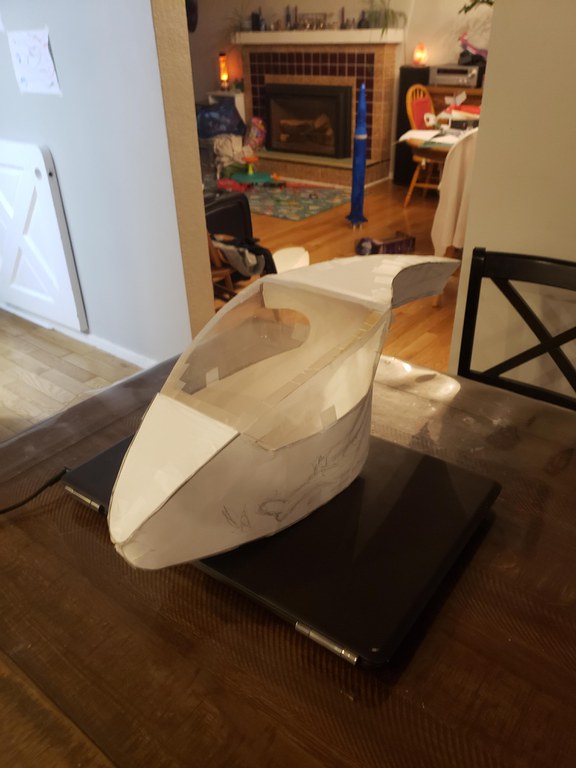
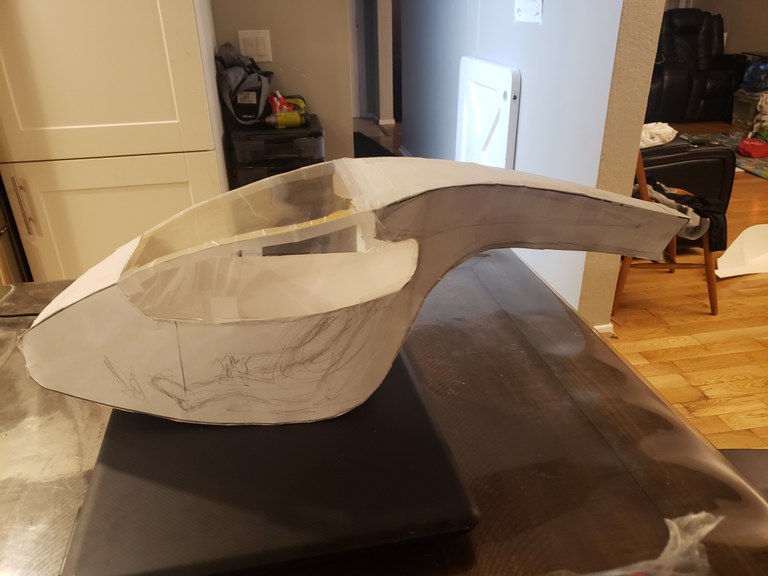
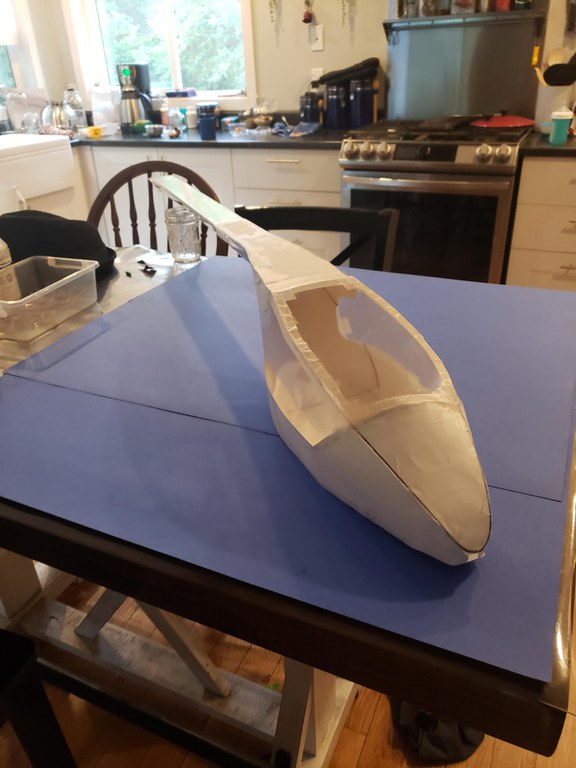
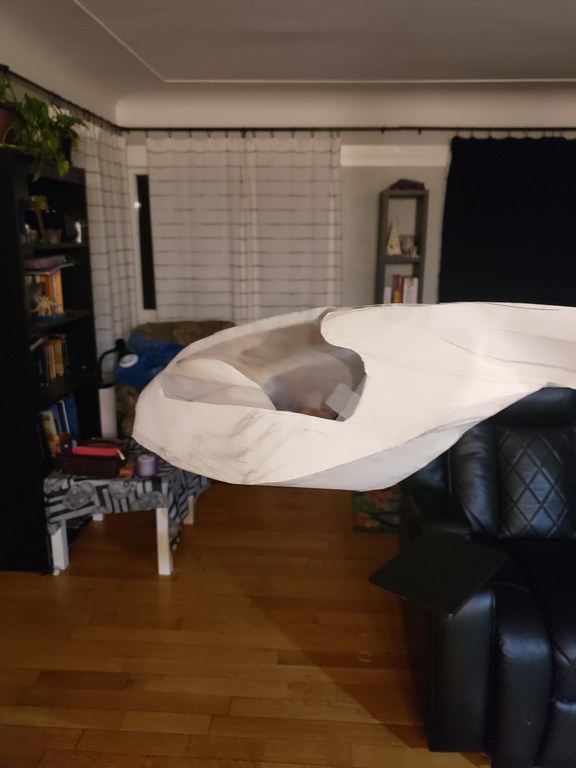
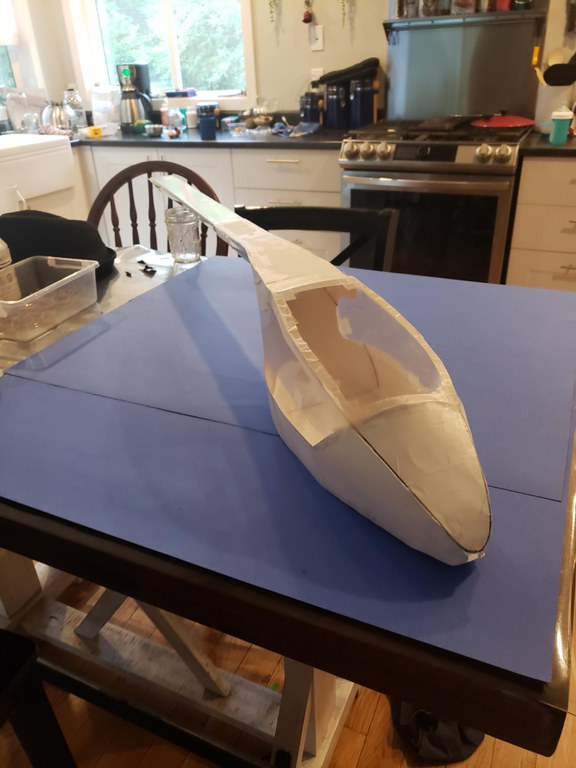
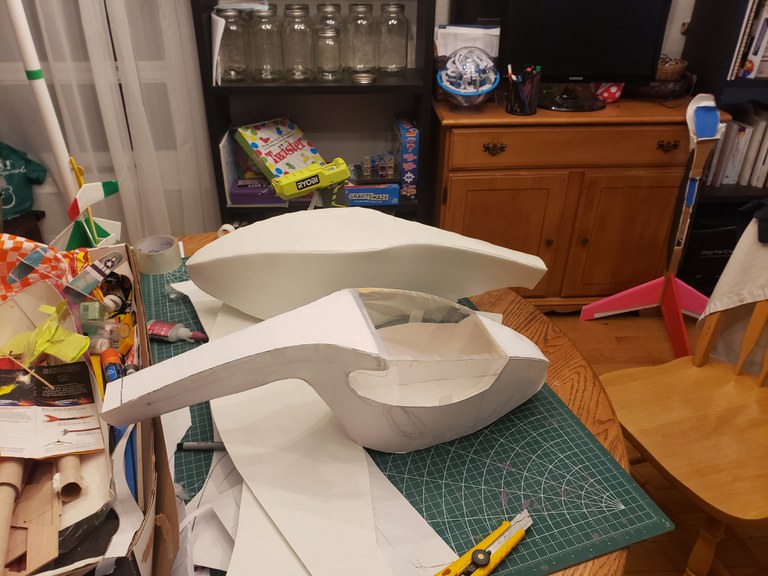
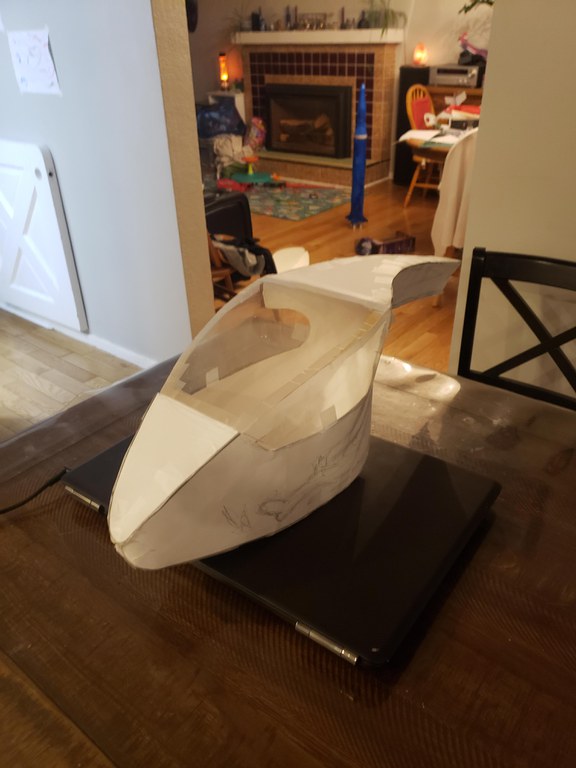
The Amihan 42 is a glider concept that is making it's way from my head to these pages as a practical engineering project.

Amihansketch.JPG

by Bjorn Lampson last modified 2023-08-06T23:35:56+00:00

Amihan 42 foot launchable glider

by Bjorn Lampson published 2022/11/20 20:48:00 GMT+0, last modified 2023-08-06T23:50:39+00:00

  • yuhj76i

    The Amihan 42 will be a single seat high wing foot-launchable glider that could compete in the high end hang glider category.  It will have three axis controls, stabilator for pitch control, fin and rudder for yaw, and spoilerons for roll and yaw during launch as your feet will not be on the pedals at that time.  For take off the full span slotted flaps will be at 10 degrees, with an optional setting of 25, and 40 degrees for landing.  To manage low speed flight close to stall, there will be a stall fence at the outer 75% position of each wing and a leading edge slot from the stall fence to the tip.  The spoilerons will be just aft of the leading edge slots to manage roll control at any speed.  Spoilerons will also slow down the inner wing in turns eliminating adverse yaw.

    With a gross weight of 385 lbs and a target stall speed of under 20 mph I envision the Amihan 42 to be ideal for beach soaring or dune gooning.  Beach soaring usually has a good steady sea breeze and enough space to soar the shoreline and land back at the launch site.  Beach soaring requires precise flying and positive control response.


    Specifications:
    • wing span 42'
    • chord  4'
    • length 20'
    • empty weight 100 lbs
    • gross weight  385 lbs
    • stall speed  20 mph no flaps
    • flap range 10*, 25*, 40*


    Other ideas for inspiration and comparison
  • Klingberg wing  https://www.youtube.com/watch?v=fSp2kP9DTbM
  • Archaeopterex  https://www.flixxy.com/foot-launched-glider.htm
  • Arnes  http://www2.arnes.si/~cetim6/fls1.htm
  • Carbon Dragon  http://www.carbondragon.us/
  • Super Floater  https://www.youtube.com/watch?v=qO35z9cElVo
  • Arienne Swift  https://www.flymanilla.com/Equipment/SWIFTLITEULGlider/tabid/344/Default.aspx
  • Atos  https://www.aeroexpo.online/prod/air-gmbh/product-171220-2809.html

updated sketch

by Bjorn Lampson last modified 2023-07-30T03:46:51+00:00

by Bjorn Lampson last modified 2023-07-30T03:46:51+00:00

Amihan 42 Control System

by Bjorn Lampson published 2022/11/20 16:34:00 GMT+0, last modified 2023-07-30T03:46:51+00:00
Contributors: 075d4981eb3a43609203f823cd548271
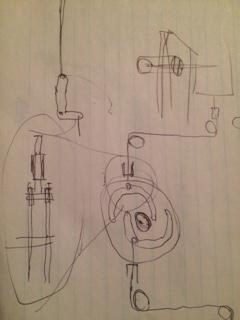
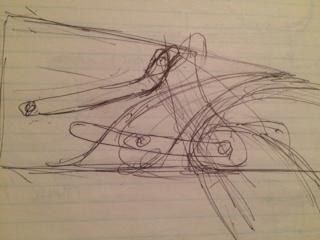
Flight controls will be with a side stick (RH side) and rudder pedals.  Flap lever will be on the left side 10* for take off, 25* and 40* for landing.  Stabilator control will be with carbon fiber push-pull tube.  Rudder will have two cables.  Spoilerons will have a single carbon fiber pull tube in each wing, and flaps will use a single carbon fiber torque tube in each wing.  Stabilator will have an anti servo tab for pitch stability and trim.

IMG_0459.JPG                  

Cam plate to control spoilerons to eliminate nul point slop

Flap Mechanism

Flap Mechanism

by Bjorn Lampson last modified 2023-07-30T03:46:51+00:00

IMG_0459.JPG

by Bjorn Lampson last modified 2023-07-30T03:46:51+00:00

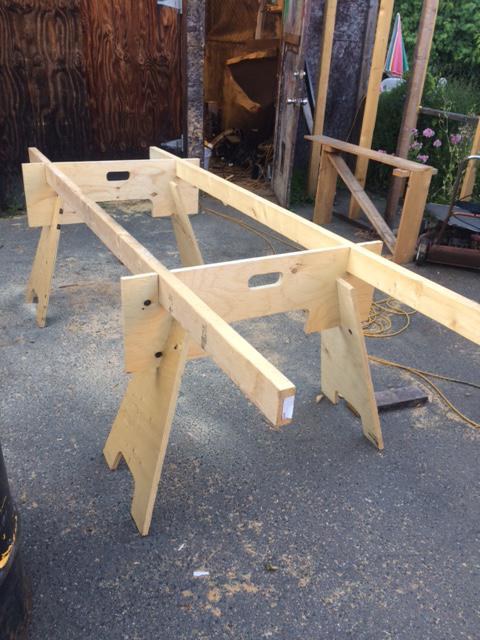
sawhorse.JPG

by Bjorn Lampson last modified 2023-07-30T03:46:51+00:00

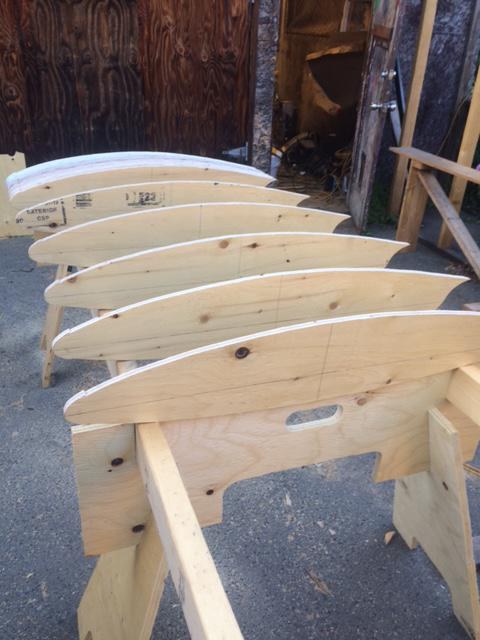
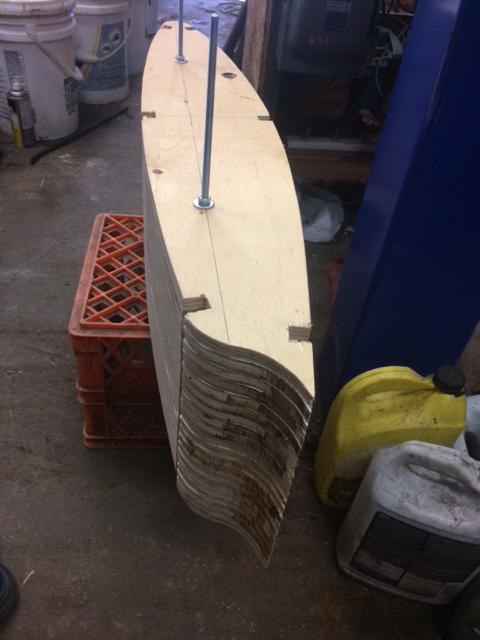
ribs.JPG

by Bjorn Lampson last modified 2023-07-30T03:46:51+00:00

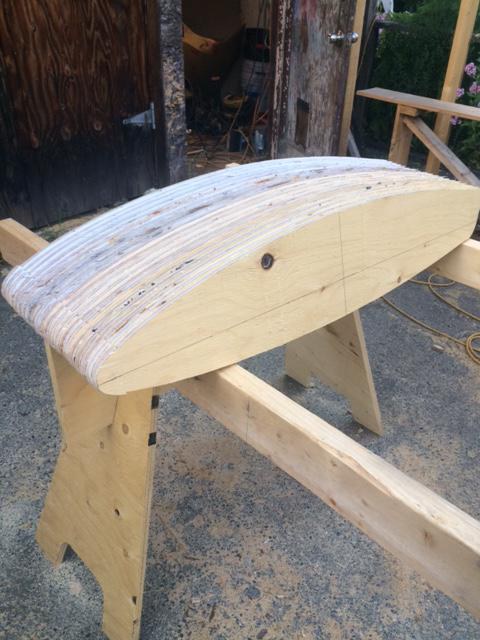
building plug.JPG

by Bjorn Lampson last modified 2023-07-30T03:46:51+00:00

plug.JPG

by Bjorn Lampson last modified 2023-07-30T03:46:51+00:00

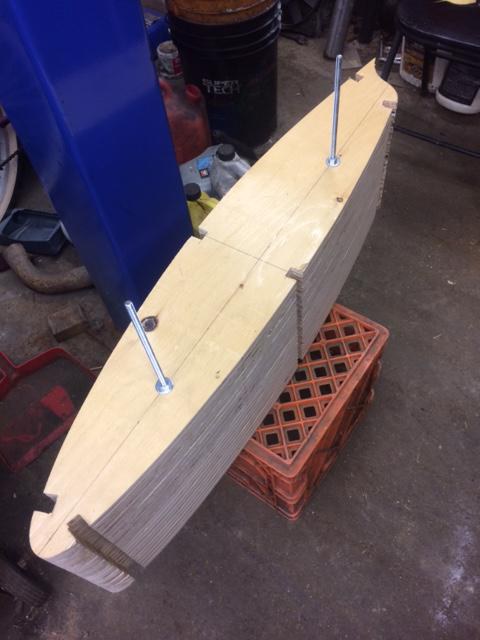
plug2.JPG

by Bjorn Lampson last modified 2023-07-30T03:46:51+00:00

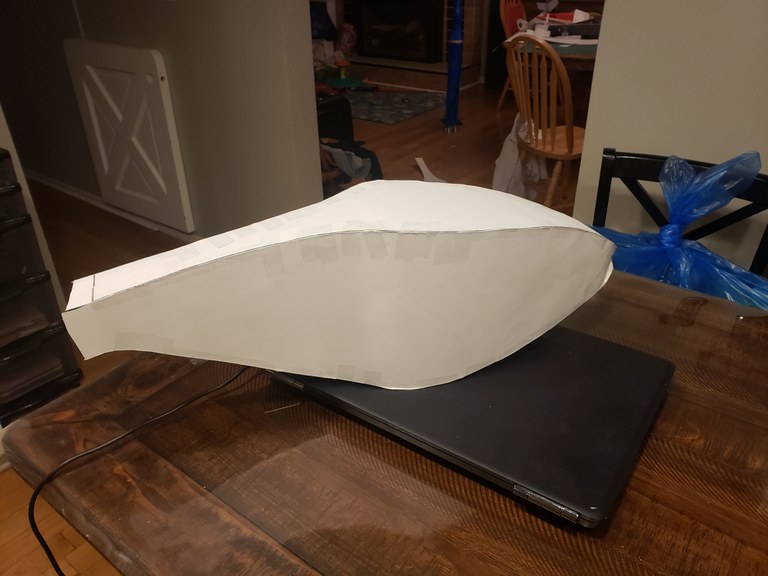
16916446157397090640587613802482.jpg

by Paul O'Rorke last modified 2023-08-10T05:17:55+00:00

20230810_001653.jpg

by Paul O'Rorke last modified 2023-08-10T15:38:54+00:00

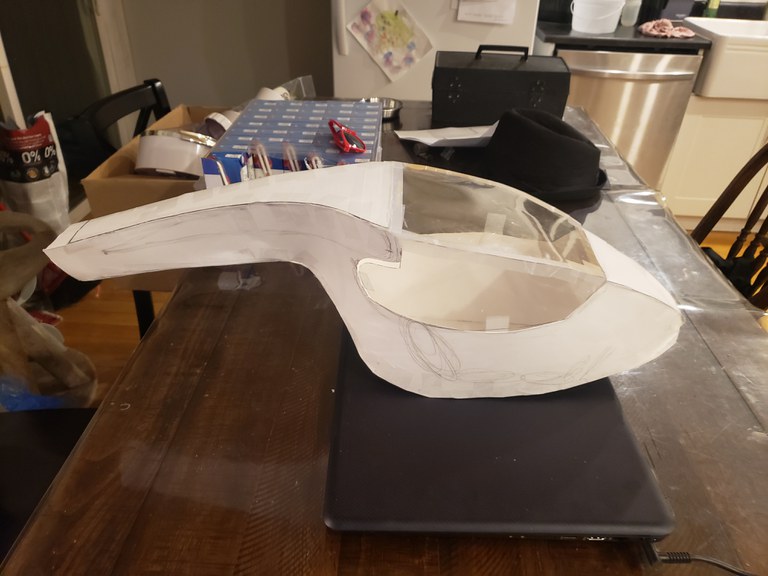
20230810_001659.jpg

by Paul O'Rorke last modified 2023-08-10T15:38:55+00:00

20230810_001725.jpg

by Paul O'Rorke last modified 2023-08-10T15:38:57+00:00

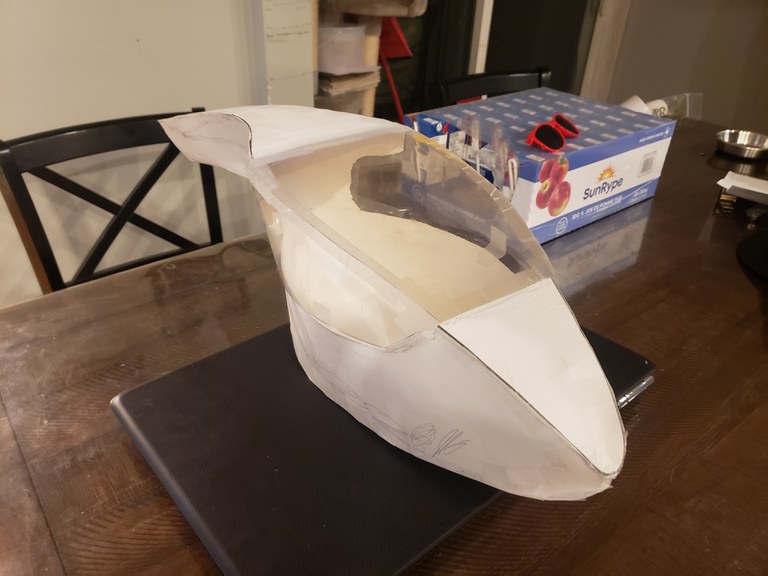
20230810_001731.jpg

by Paul O'Rorke last modified 2023-08-10T15:38:59+00:00

20230810_001744.jpg

by Paul O'Rorke last modified 2023-08-10T15:38:59+00:00

20230811_065937.jpg

by Paul O'Rorke last modified 2023-08-11T18:44:10+00:00

20230811_001721.jpg

by Paul O'Rorke last modified 2023-08-11T18:44:12+00:00

20230811_065937.jpg

by Paul O'Rorke last modified 2023-08-11T18:57:25+00:00

Electricity from Ground

by Bjorn Lampson published 2022/11/14 19:24:06 GMT+0, last modified 2022-11-15T00:50:58+00:00
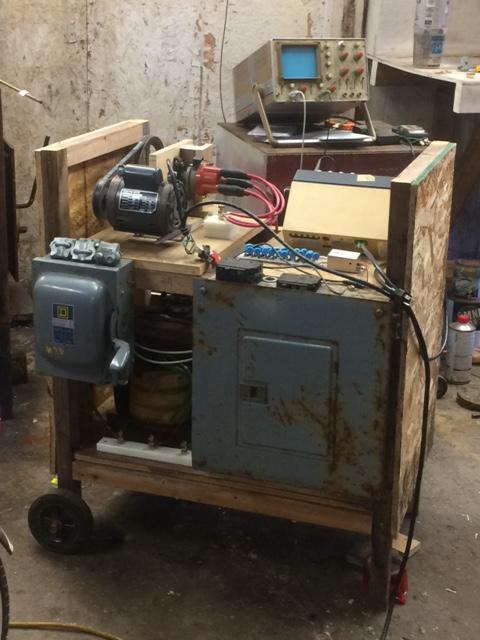
An energy system that exploits the electrical potential difference between charged surfaces and induction

Prototype

by Bjorn Lampson last modified 2022-11-15T00:50:58+00:00

Used oil stove for shop heat

by Bjorn Lampson published 2022/11/14 19:26:29 GMT+0, last modified 2022-12-06T05:53:43+00:00
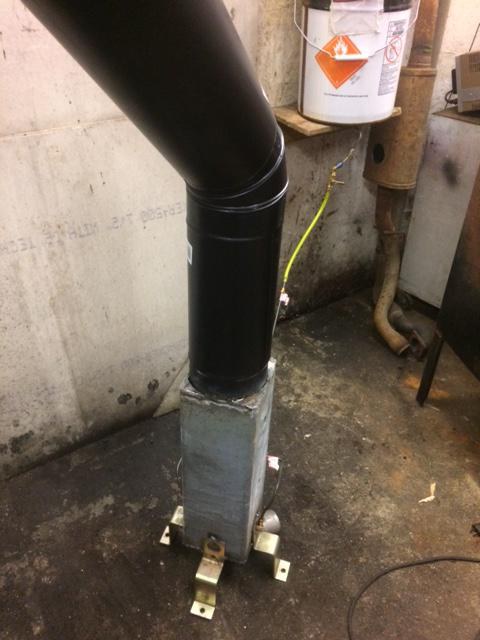
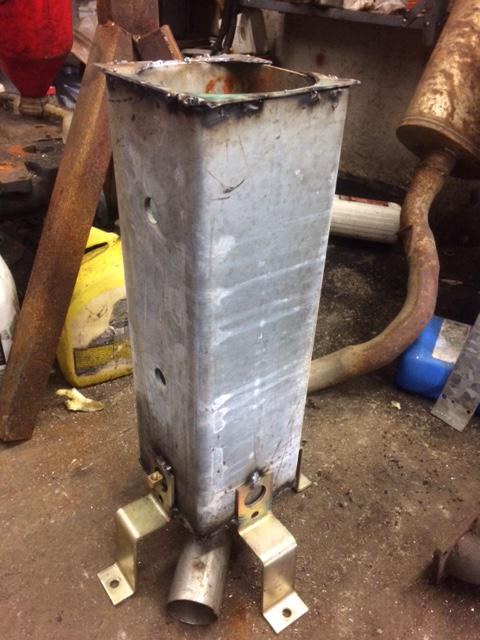
Very simple used oil stove to efficiently heat my shed

Oil Stove

by Bjorn Lampson last modified 2022-11-14T19:54:47+00:00

IMG_0463.JPG

by Bjorn Lampson last modified 2022-11-23T04:43:44+00:00

IMG_0464.JPG

by Bjorn Lampson last modified 2022-11-23T04:44:47+00:00

IMG_0465.JPG

by Bjorn Lampson last modified 2022-11-23T04:45:44+00:00

IMG_0467.JPG

by Bjorn Lampson last modified 2022-11-23T04:46:34+00:00

Used oil stove for shop heat

by Bjorn Lampson published 2022/11/23 04:48:00 GMT+0, last modified 2022-11-27T19:09:05+00:00

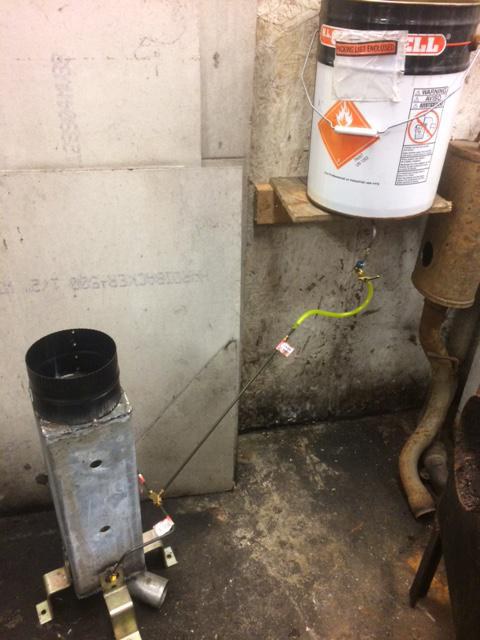
IMG_0463.JPG

Chimney connector installation.

IMG_0464.JPG

Adding the oil feed connections.

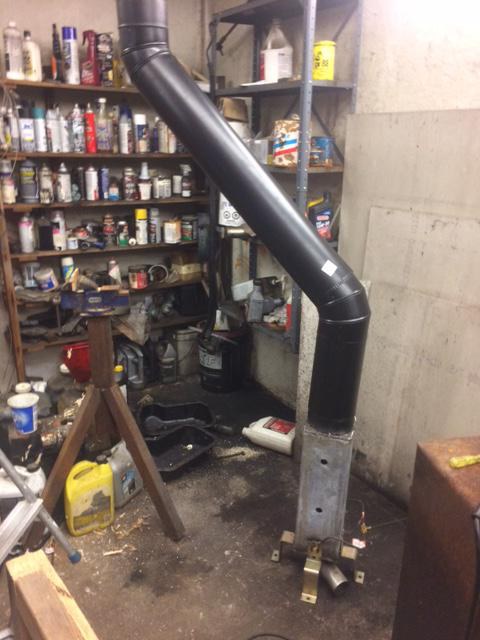
IMG_0465.JPG

Connectnging the chimney

IMG_0467.JPG

Conclusion

After hooking up the chimney and fuel lines, I grabbed a used oil jug to do a test burn.  What came out of the jug was mostly coolant!! Ugh! So a few hours later after the oil tank was cleaned out and reinstalled, I was able to do a test burn.  I had to soak a piece of rag in oil and put it inside and lit it with a blow torch.  Once lit, the stove burned quite well apart from the poor weld at the bottom which leaked oil. I will have to fix that before I can use it properly.  The stove makes quite a bit of roaring noise, fuel flow control is good. I might have to add a blower to make it burn a bit cleaner, but all in all it was a success!
20230810_013040.jpg

by Paul O'Rorke last modified 2023-08-10T08:47:38+00:00

20230810_001731.jpg

by Paul O'Rorke last modified 2023-08-10T08:47:41+00:00